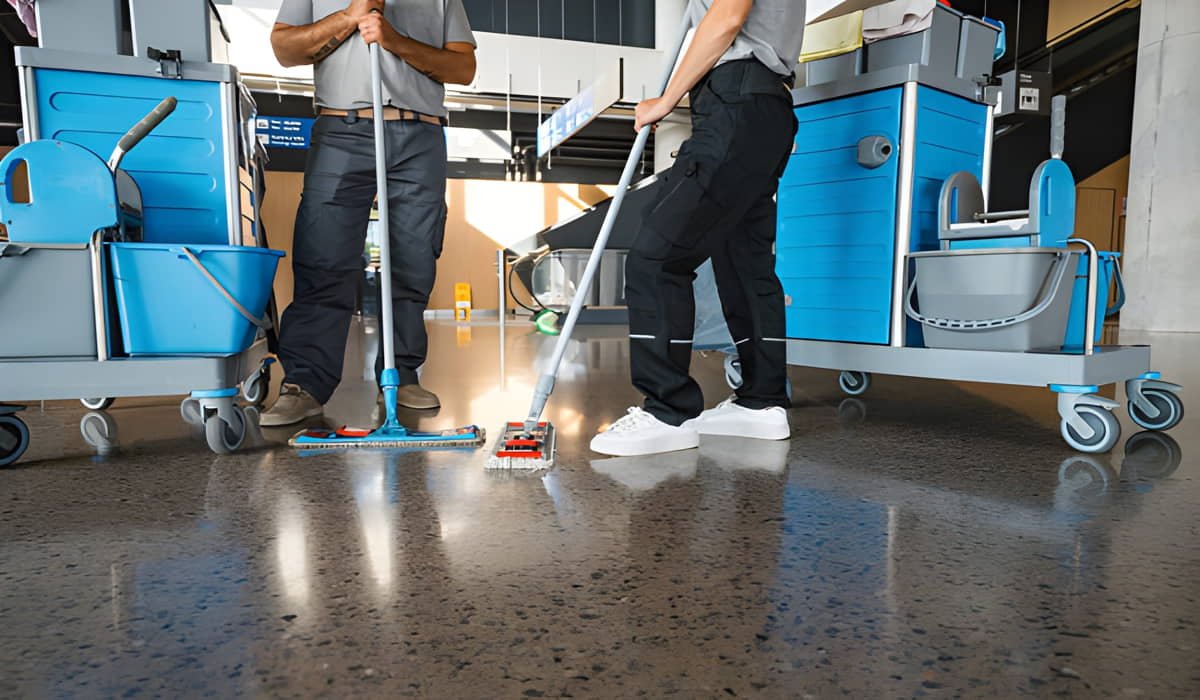
Matte tiles look stunning until you try to clean them. Those beautiful textured surfaces that gave your bathroom or kitchen such character? They’re now collecting every speck of dust and grime like magnets.
We’ve all been there. You scrub and scrub, but the tiles still look dull. The problem isn’t your effort, it’s your method.
Matte tiles need special care. Their non-reflective surface hides dirt well, but it also traps it deep in the texture. Regular cleaning methods often push grime around instead of removing it.
Here’s the good news: we’ve cracked the code. Three simple steps will restore your matte tiles to their original beauty. No fancy equipment needed. Just the right technique and patience.
Why Matte Tiles Are Different
Matte tiles have a porous, textured surface. This texture creates tiny valleys and peaks that catch dirt, soap scum, and grease. Unlike glossy tiles that you can wipe clean with a quick swipe, matte surfaces need deeper cleaning.
Think of it like cleaning a rough sponge versus a smooth plate. The sponge holds onto everything, while the plate lets things slide off easily.
Most people make the mistake of using the same products they’d use on shiny tiles. This usually makes things worse. Harsh cleaners can damage the matte finish, leaving permanent marks or discoloration.
Step 1: Prepare Your Tiles for Deep Cleaning
Start with dry removal of surface dirt. Sweep or vacuum the tiles thoroughly. Don’t skip this step; wet dirt becomes a muddy paste that’s harder to clean.
Use a soft-bristled brush for textured areas. The bristles reach into the grooves where regular brooms miss. Work in sections, paying extra attention to corners and edges where dirt likes to hide.
Next, inspect your tiles closely. Look for stains, discoloration, or buildup. Different problems need different solutions, so knowing what you’re dealing with saves time later.
Remove any loose items from the area. This includes bath mats, decorative items, or furniture that might get in your way. You want clear access to every tile surface.
Finally, check your cleaning supplies. You’ll need:
- pH-neutral cleaner (avoid acidic or alkaline products)
- Microfiber cloths
- Soft-bristled brush
- Warm water
- Spray bottle
Step 2: Apply the Right Cleaning Solution
The key to cleaning matte tiles is using pH-neutral cleaners that won’t damage the surface while still removing dirt and grime effectively. Never use acidic cleaners like vinegar or lemon juice on matte tiles. They can permanently dull the finish and create uneven spots that look terrible.
Mix your pH-neutral cleaner according to package directions. If you don’t have a commercial cleaner, make your own with a few drops of mild dish soap in warm water. The soap should be gentle, think baby shampoo, not degreasing dish detergent.
Spray the solution onto a small section of tiles. Don’t flood the area; you want enough moisture to work with, but not so much that it pools in the grout lines.
Let the cleaner sit for 2-3 minutes. This gives it time to break down the dirt and grime. Don’t let it dry completely, though. If it starts to dry, mist it lightly with water.
Work in 3-foot sections. This keeps you from getting overwhelmed and ensures the cleaner doesn’t dry before you can work with it. Start from the top and work your way down Gravity is your friend here.
Step 3: Scrub Gently and Rinse Thoroughly
Now comes the actual cleaning. Use your soft-bristled brush to gently scrub the tiles. The key word here is “gently.” Matte tiles can scratch, so aggressive scrubbing does more harm than good.
Work in circular motions, overlapping each stroke. This ensures you don’t miss any spots. Pay special attention to the grout lines – they collect dirt and can make clean tiles look dingy.
For stubborn spots, let the cleaner sit a bit longer before scrubbing. Sometimes patience works better than elbow grease. If you’re dealing with soap scum or mineral deposits, you might need to repeat this process.
Rinse thoroughly with clean water. This is crucial – leftover cleaner can leave a film that attracts more dirt. Use a clean microfiber cloth dampened with water to wipe down each section.
Dry the tiles completely with a clean, dry microfiber cloth. Don’t let them air dry – water spots can form, especially if you have hard water. Work systematically to ensure every surface is dry.
Common Mistakes to Avoid
Never use bleach on matte tiles. It can discolor the surface and create permanent damage. The same goes for ammonia-based cleaners – they’re too harsh for the delicate finish.
Don’t use abrasive scrubbers or steel wool. These will scratch the surface and create permanent damage. Stick to soft brushes and microfiber cloths.
Avoid letting cleaning products sit too long on the surface. Even gentle cleaners can cause problems if left on for extended periods. Set a timer to remind yourself to rinse.
Don’t mix different cleaning products. This can create dangerous chemical reactions and might damage your tiles. Stick to one cleaner at a time.
Maintaining Your Matte Tiles
Daily maintenance keeps your tiles looking their best. A quick sweep or vacuum removes surface dirt before it gets ground in. Wipe up spills immediately – they’re much easier to clean when fresh.
Weekly cleaning prevents buildup. Use the same gentle method we outlined, but you won’t need to scrub as hard if you stay on top of it. Think of it like brushing your teeth – daily care prevents bigger problems.
Monthly deep cleaning tackles any issues that daily maintenance missed. This is when you might need to spend extra time on problem areas or use slightly more cleaning solution.
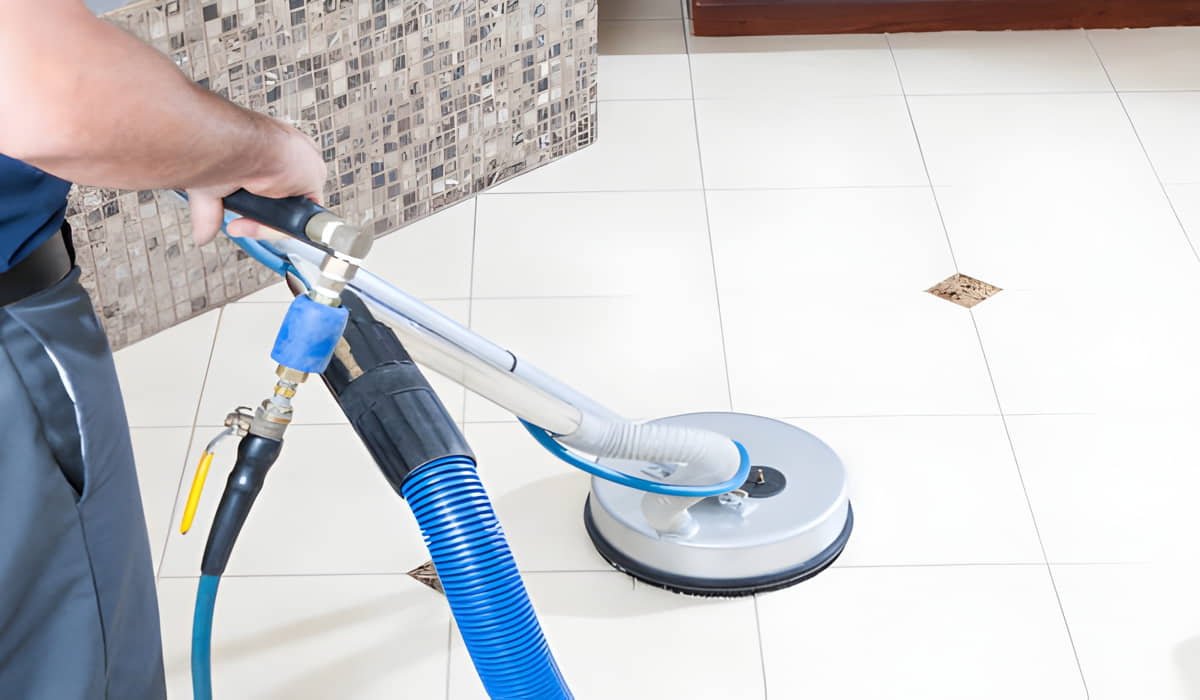
When to Call in the Pros
Sometimes DIY cleaning isn’t enough. If your tiles have deep stains, etching, or damage, professional cleaning might be necessary. Don’t feel bad about this – some problems need special equipment or expertise.
Professional cleaners have access to commercial-grade products and tools that aren’t available to consumers. They also know how to handle different types of matte finishes without causing damage.
If you’re seeing white residue that won’t come off, or if your tiles look cloudy after cleaning, stop what you’re doing and consult a professional. These signs often indicate damage that needs expert attention.
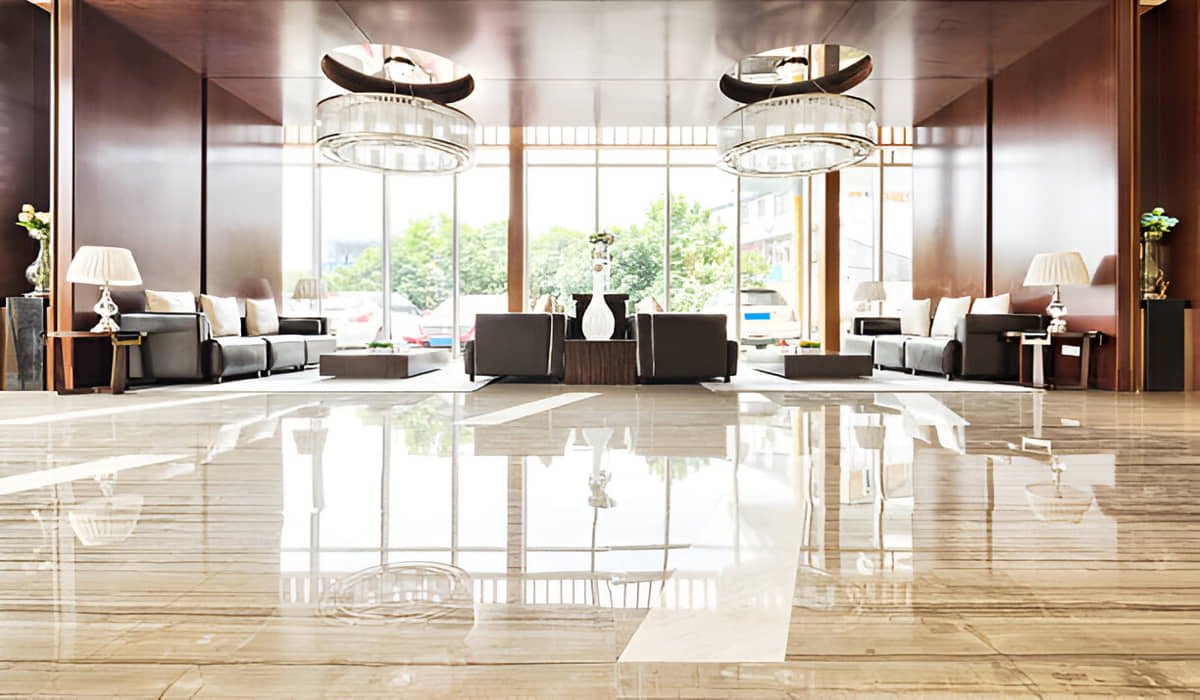
The Bottom Line
Cleaning matte tiles doesn’t have to be a nightmare. The right approach makes all the difference. Remember: gentle cleaning products, soft tools, and patience are your best friends.
These three steps work because they respect the unique properties of matte surfaces. You’re not fighting against the tile, you’re working with it to restore its natural beauty.
Start with proper preparation, use the right cleaning solution, and finish with thorough rinsing and drying. Follow this routine, and your matte tiles will look as good as the day they were installed.
The key is consistency. Regular gentle cleaning prevents the buildup that makes tiles look dull and dingy. Your tiles will thank you for the extra care, and you’ll love how they look.